Metod Installation Brief: information to pass onto your fitter
Installation is a crucial step in ensuring your layout is on the right side of "expectation vs reality". In trail and error, we have compiled a list of valuable tips to help you assemble your kitchen or Metod layout in the best possible way. A word of advice: share it with your fitter before they arrive, it will save precious time on the big day!
1. Prepare your "installation file"
- Print your final Ikea plan, including the fronts
- Mark the side panels with a red marker and the filler panels with a green marker, directly on your plan
- Mark the exact location of each handle
- Mark the location of appliances
- Print your Plum Living list and attach it to your Ikea plan


2. Let them know the main principles of installing Plum Living fronts
- Doors and drawers: our door and drawer fronts are pre-drilled to match Ikea fronts, and are installed in exactly the same way (following the Ikea assembly instructions).
- Cover panels: we offer the same cover panel sizes as Ikea. They are 16mm thick. Depending on your project, these can be cut to size on site.
- Plinths: Our matte lacquered and brass plinths are clipped onto Metod legs (just like the Ikea plinths). On the other hand, our oak and walnut plinths require the Metod plastic ring to be screwed directly into the plinth before clipping it on.
- The Plum Living installation guide may be useful for your fitter: you'll find all the Ikea instructions, as well as our video tutorials.
3. Double check your appliances to be installed

Review your appliance list, including the dimensions and location of each appliance. If you've opted for built-in appliances not from Ikea, double check that you've chosen the right size fronts (especially for the fridge).
4. First things first: address the important issues
After providing your installation file and appliance list, go over all the questions below with your fitter. This way you can work out the aesthetic (and practical) details of your layout together.
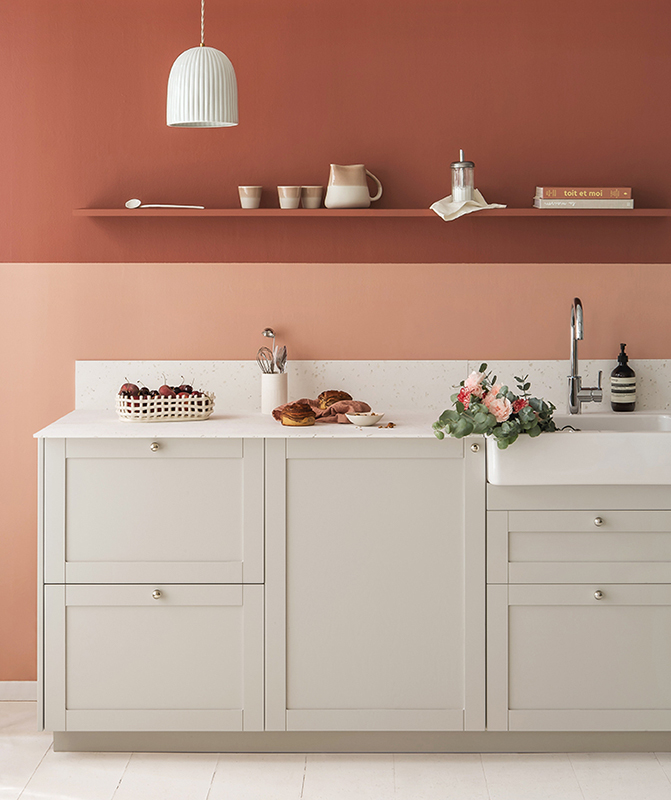
How high should wall cabinets be installed?
Our advice: minimum 55 cm between the countertop and the wall cabinets.
How many centimetres should my countertop extend beyond the fronts?
Please note: our fronts are 19 to 21 mm thick depending on the style. You'll find all the details on the product sheets on our website.
Should the sides go all the way to the floor or sit flush with the cabinet?
Our aesthetic recommendation: keep the sides flush with the cabinet for a lighter effect (unless it is a leg supporting the countertop).
Should fillers be in line with the fronts or slightly set back?
Our aesthetic advice: it looks much better when it is aligned! Keep in mind it takes a little more time to install.
Does your fitter have a circular saw and new blade to cut your cover panels cleanly?
Please note: with a circular saw, the underside of the panel will be the cleanest side. If a chip occurs while cutting one side, it's not the end of the world, just place the panel so that the chipped side is not visible. If the chip is visible, use the small pot of lacquer or paint supplied with your fronts to make any necessary touch-ups.
Which cover panels need to be cut on site?
Do light fittings in wall cabinets have to be recessed?
Our aesthetic advice: recessing the lights gives a more upscale look. Again, it also takes longer to install.

5. Double check you have the necessary materials and hardware
Double check our Ikea checklist here and make sure nothing is missing! If your fitter is in charge of Ikea purchases, provide them with the list.
In your or your fitter's toolbox
- Screwdriver & drill
- Clamps for securing the cover panels
- 30 mm screws for the cover panels
- 3 to 5 mm wood drill to install handles
- Flat head screwdriver to adjust the alignment of your fronts
- Circular saw (with new blade and close-teeth) for a clean cut