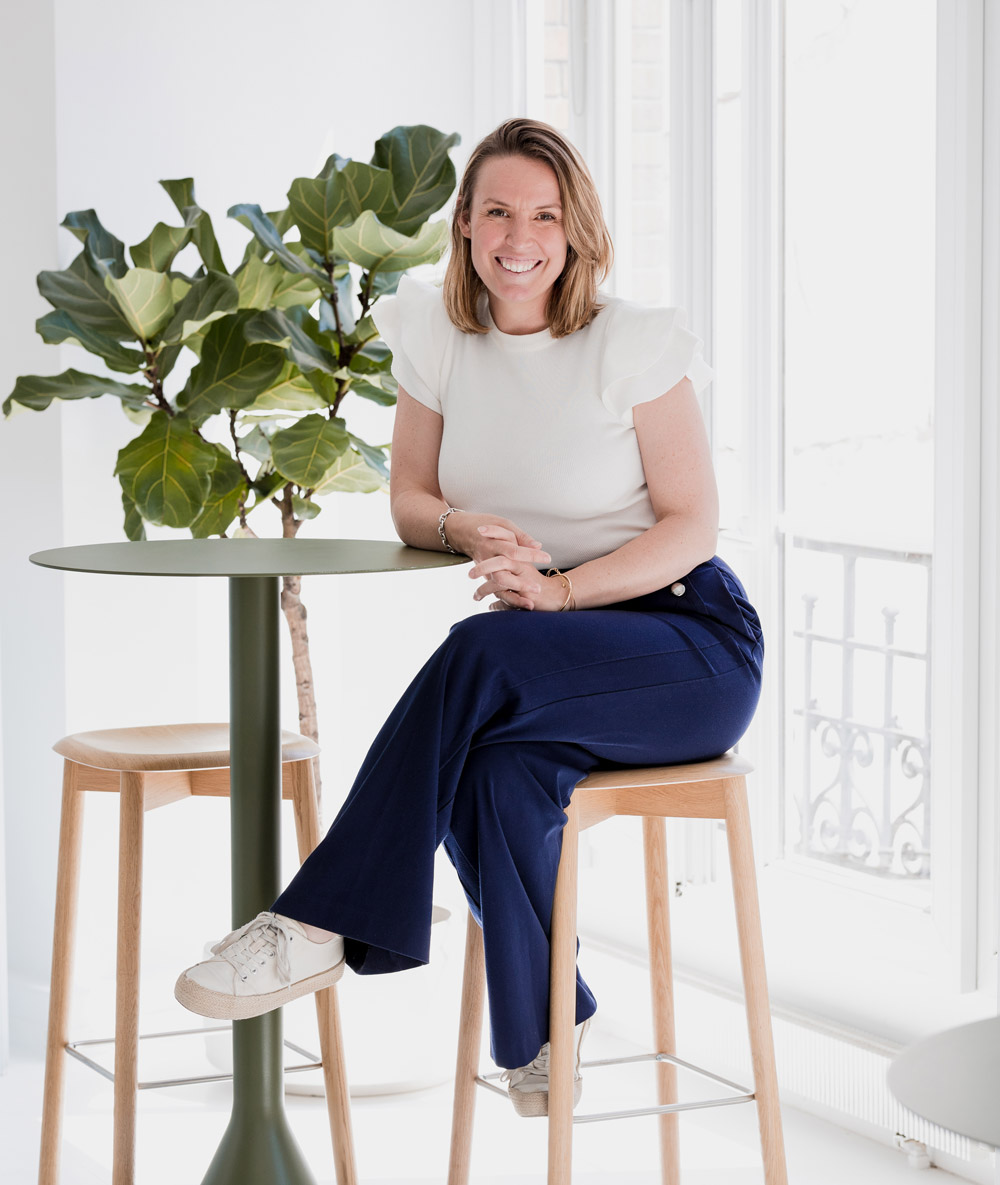
Cart
Your cart is empty

⚡ Delivery times available here⚡ | 3 samples offered here

Professional Club

To know more!


To prepare your quote, we will need your plan from the Ikea Kitchen Planner, including fronts.


We only provide quotes for Metod kitchens and fittings.


Already have a Plum Living account? Log in before you start.

Grey 03 - Asphalte Colourblock
Practical Guides

Ikea Kitchen Planner, user guide!

The Ikea kitchen design tool - AKA Ikea Kitchen Planner - will help you finalise your Plum Living order within minutes (without having to hand-fill your basket!)


At face value, the Ikea Kitchen Planner seems about as simple as pronouncing Swedish-references with a Daim stuck in your teeth. Don't take it out on the chocolate! Practice makes perfect, right? Well, after countless sleepless nights in front of our screens, we’ve put together a little list of tricks to avoid any Ikea planner pitfalls. Once mastered, you can use your plan to place your Plum Living order via the Plum Scanner, without having to fill your basket front by front.


Keep this memo handy when designing your kitchen, you'll be an expert in no time!

Good to know!

Need some help designing your plan? Our Plum Planners are here for you! Book a Conception appointment with us here.

Cabinet frame arrangement

Kitchen in framed Green 02 - Sombre forest

Straight ahead

You could've sworn your room was perfectly rectangular and that your cabinets would fit without a doubt. But then you realised the wall isn't quite straight after all, and its neighbour not quite at 45°. As a general rule, always leave a 5 cm margin between a cabinet and a wall, even if this means giving up a cabinet for a narrower module. This avoids any unpleasant surprises due to incorrect measurements and uneven walls! The gap between the wall and the cabinet at the end of the shelf can always be covered with a filler panel later.


Getting the right height

We know it's hard to know how high to place your overhead cabinets when you're not standing in your kitchen. Don't panic: Ikea offers standard heights which you can safely opt for if you don't have a sloped roof or any other specific constraints. Overhead cabinets are generally installed between 50 and 60 cm high, unless you cook with gas. In that case, you'll need to allow 70 cm between your hobs and your rangehood.


Clear the way

An island, two shelves and an American-style fridge... Although it's tempting to fit all the pieces of your dream kitchen in one room, check that you have the necessary space, and not just length. It's best to allow 90 cm between two rows, so that you can open your cabinet doors and move around freely.


Lighting the fire

It lives rent-free in your dreams, an extra large kitchen piano simmering your meals. But you have to face the facts: fitting it into a kitchenette isn't exactly realistic. When you buy your hob, take into account the overall space available: whether gas or induction, they should not be installed directly against the wall or near a water point. We recommend leaving about ten centimetres of work surface between the hob and the wall, and 60 cm between the hob and sink.


Like a magnet

You're at your wits' end. No matter how many times you position your cabinets ten centimetres apart to leave a space for your water supply, the Ikea Kitchen Planner insists on putting them back together. While it may be convenient sometimes, the magnet effect isn't always helpful. Our tip: keep clicking on the cabinet until it's outlined in green. You can then place it anywhere you like!

Individual cabinet configuration

Black or white

We know that perfecting the aesthetics of your Ikea kitchen when you're planning to order fronts and handles from Plum Living may seem a little pointless. However, playing around with options will give you a clearer idea of the final look, and will help you choose the right items. For example, you can change the colour of the Metod cabinet frames: they are white by default but you can also opt for black, which we particularly recommend if you're keen on dark doors and drawers. This way, you’ll avoid any visible contrast between your dark door fronts and the inside of your cabinets.


Kitchen in Blue 02 - Bleu nuit
Kitchen in Green 03 - Vert de gris

Better together

Having your dishwasher sit flush with your cabinets is good. Disguising it as drawers is even better! To simulate 3 drawers instead of one door, go to the right side of the Kitchen Planner page. Click the "configure" tab, then "change the appearance of the cabinet". You'll then see several door and drawer configuration options. Simply add Vaglig bars to your basket so you can put them together. These are not to be confused with Behjaplig bars, which are used to attach a front to a non-Ikea built-in dishwasher to not hinder its opening.

Kitchen in Green 03 - Vert de gris

Filler & Side panels

Single line kitchen in Grey 02 - Ardoise

Blackboard kitchen

The next big thing? With its two columns and row of modules linking them to form a frame, this "blackboard" kitchen is one apart from the rest. The key element of this layout is cover panels, which keep the cabinets out of sight, out of mind. However, be careful when installing a cover panel along a column: make sure it runs from top to bottom so as not to leave a gap between the rows of lower and overhead cabinets. You'll need to add an extra 16mm to your plan.


Let there be light

Black or white cabinets? Integrated or free-standing refrigerator? Classic or double basin sink? Since you opened the Kitchen Planner, a world of options has opened up. The good news is that you don't have to choose between installing cover panels under your overhead units and adding light fittings. You can simply cut the panel to fit the lights. You can also opt for a thinner cover panel and use the remaining space to fit your lights.


Com-mu-ni-cate

You had pictured your panels flush with the fronts. That's obvious, right? In reality, filler panels are usually screwed in from the edge, inside the cabinet frame. If you want them to sit flush with the fronts, you'll need to place a strip underneath and screw from the strip. Most importantly, don't forget to tell your fitter!


Mr Clean-Cut

Get out the circular saw! Although our door and drawer fronts are delivered ready to install, the filler and cover panels often have to be cut to size on-site. To ensure a clean cut, place paint tape on the panel and always start from the back.

Using the Plum Scanner

Kitchen in Grey 01 - Gris nuage

Inhale, exhale

You're nearly there! All that's left to do is get your Ikea plan link by clicking "Share" to get started with the Plum Scanner. Our software will then scan your plan and provide you an exact list of fronts needed to create your dream Plum Living layout. However, please note that cover panels needed to create sides and fillers are not automatically added by the Ikea Kitchen Planner or the Plum Scanner. Don't forget to add them to your Plum Living order!


Time for hinges

Back on the Ikea website, you want to finalise your order. Although you may be tempted to click "change everything in one click" to remove the fronts and plinths, there's a catch! Removing the doors from your Ikea plan will automatically remove hinges from your list too. Similarly, removing plinths will remove Metod legs. We suggest adding everything to your basket and removing the fronts and plinths manually. We promise it's not as tedious as it sounds!

Do you have a project to achieve? Receive 3 free samples